

There’s a simple yet powerful way to capture exactly what’s on your Mac screen, and I want to guide you through it. Whether you need to save a web page, preserve an error message, or share something important, taking a screenshot on a Mac is straightforward once you know the steps. I’ll show you efficient methods including keyboard shortcuts and built-in tools, ensuring you can capture your screen quickly and accurately without any hassle.
Unlocking the Screenshot Features: Keyboard Shortcuts to Know
MacOS offers a variety of keyboard shortcuts that make capturing your screen quick and flexible. These commands cover everything from grabbing the entire display to capturing specific windows or custom portions of your screen. Mastering these shortcuts can make your workflow smoother, whether you’re creating tutorials, saving chats, or gathering design inspiration. Let’s explore the important key combinations that put powerful screenshot tools at your fingertips.
Capturing the Entire Screen: Command + Shift + 3
Pressing Command + Shift + 3 instantly captures your entire screen and saves the image to your desktop. This shortcut is ideal for quickly grabbing everything visible, including multiple monitors if you have them connected. It’s the fastest way to record snapshots without needing to select or crop, perfect for catching system errors or full-layout designs.
Snipping a Specific Window: Command + Shift + 4
Using Command + Shift + 4 followed by tapping the Spacebar lets you capture a specific window. The cursor changes to a camera icon, allowing you to hover over and click the desired window, including dialog boxes and menus, which gets saved as a neat, framed screenshot. This technique eliminates background clutter, focusing your image exactly where you want.
This method is especially handy when documenting app errors or sharing parts of your project with teammates. You avoid manually cropping after capturing and preserve window shadows for context, which many professionals value for polished presentations and reports.
Selecting a Portion of the Screen: Command + Shift + 4, Then Drag
By pressing Command + Shift + 4 and dragging your cursor, you can select a custom area of the screen to capture. This allows precise control over what content you grab, from a text snippet to a specific chart segment, saving you time on editing or cropping later.
Dragging the selection box provides real-time dimensions, helping you snap exactly the size and shape you need, down to pixels. Holding the Spacebar while dragging lets you reposition the selected area before finalizing, adding flexibility to capture just the right portion without multiple attempts.
Exploring Screenshot Options: Tools Built Into Your Mac
Mac offers a range of integrated tools for capturing your screen, from simple keyboard shortcuts to the versatile Screenshot app. These options accommodate everything from quick full-screen grabs to precise area captures. Each tool provides unique features tailored for different needs—whether you’re preparing visuals for work, study, or sharing. I find that knowing these built-in options can greatly speed up my workflow and enhance the quality of my screenshots without the need for third-party apps.
Using the Screenshot App for Enhanced Features
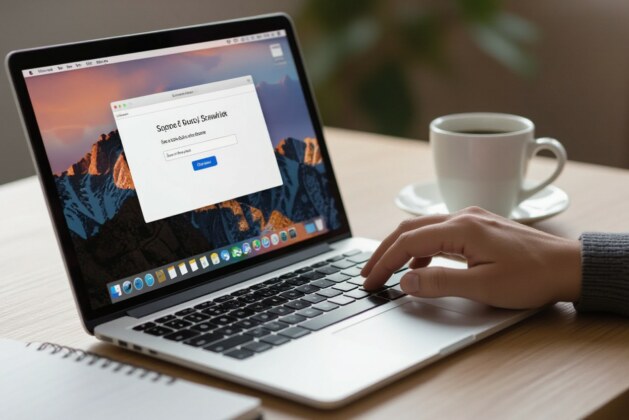
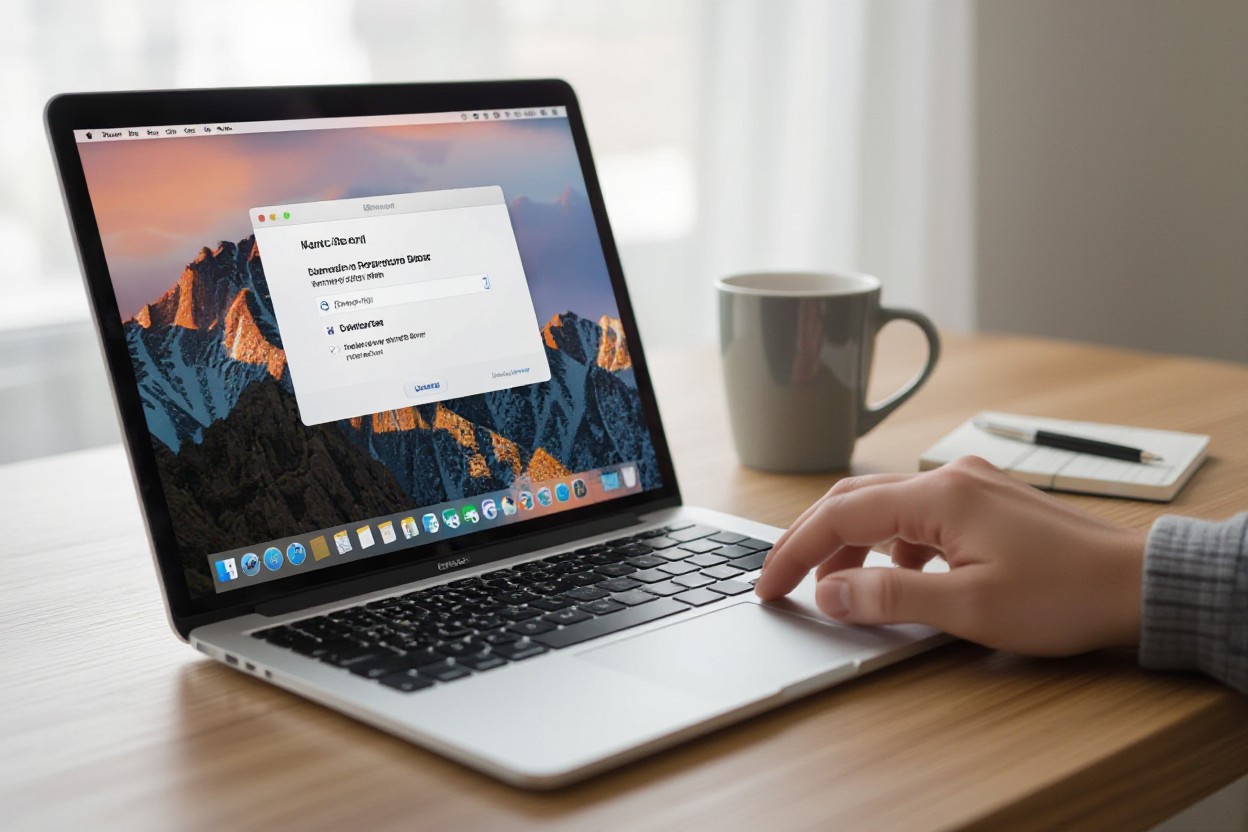
The Screenshot app, accessible via Shift + Command + 5, offers a comprehensive control panel with options to capture the entire screen, selected windows, or custom areas. Beyond screenshots, it includes options for screen recording, a timer, and settings to choose where the files save automatically. This app makes it easier to manage captures with its on-screen controls, offering preview thumbnails and easy access to editing tools, making your screenshot experience smoother and more efficient.
Accessing Screenshot Options from the Touch Bar (if applicable)
For MacBook Pro users with a Touch Bar, screenshot functions can be streamlined directly through a dedicated icon on the Touch Bar. Tapping it brings up options similar to those in the Screenshot app, offering quick access to capture full screens, windows, or specific areas. This integration allows for faster, tactile interaction avoiding keyboard combinations, and is especially handy when working on creative projects or multitasking.
Delving deeper, the Touch Bar’s dynamic interface adapts to your screenshot needs, displaying relevant capture modes and even shortcut buttons for editing and sharing. It effectively reduces interruptions, letting you stay focused by keeping necessary tools one tap away. This feature harnesses the Touch Bar’s potential, blending hardware customization with screenshot functionality, which can be a real time saver in fast-paced environments.
Navigating to the Desktop Folder: Where Do Your Screenshots Go?
By default, screenshots on a Mac automatically save to the Desktop, making them easy to locate and organize. Filenames typically include the date and time stamp, ensuring you can track your captures chronologically without confusion. Custom preferences can change this destination, but the Desktop remains the central hub for freshly taken screenshots in most cases.
Understanding where your screenshots land can prevent wasting time digging through files or apps. When I first started using my Mac, I created a dedicated folder on the Desktop to keep my screenshots organized, but you can also reroute saving locations directly within the Screenshot app’s options. This clarity helps maintain order, especially for frequent users managing a large volume of captures daily.

Maximizing Screenshot Utility: Editing and Annotation
After capturing your screenshot, macOS presents immediate editing options through the floating thumbnail that appears. This feature lets you crop, rotate, and adjust your image without opening a separate app. By streamlining this process, macOS saves valuable time and keeps your workflow efficient. Taking advantage of these built-in tools means you can quickly refine your captures for presentations, tutorials, or sharing without the need for additional software.
Quick Edits Available after Capture
Once you take a screenshot, a small thumbnail pops up briefly at the screen corner—clicking it opens a quick editor where you can crop, rotate, or trim the image with ease. You can also change the size or tweak colors, letting you prepare the screenshot perfectly before saving or sharing. These quick fixes are ideal when you need minor adjustments without the hassle of switching applications, keeping you focused on your task.
Adding Annotations with Markup Tools
When you open the screenshot editor, the Markup toolbar offers powerful annotation options like text, shapes, arrows, and a signature tool. I find that these tools transform basic screenshots into effective communication assets, especially when giving feedback or highlighting specific areas. Markup lets you clearly convey your message visually, simplifying explanations and reducing back-and-forth.
Digging deeper, Markup lets you customize annotations by adjusting stroke thickness, color, and font, bringing a personal touch and clarity to your screenshots. You can insert text boxes to add context directly on the image or use arrows and shapes to emphasize important details. The signature tool is particularly handy for quickly signing documents or approvals without printing. By integrating these tools seamlessly, macOS empowers you to create annotated screenshots that stand out and communicate precisely what you want.

Troubleshooting Common Screenshot Issues: Keep Your Workflow Smooth
Even though Mac’s screenshot tools are reliable, occasional hiccups can disrupt your workflow. Problems like unexpected file formats or lower-than-expected image quality often stem from settings rather than hardware faults. Adjusting the default save location in Terminal or verifying the screenshot format—PNG, JPG, or TIFF—helps maintain consistency. Sometimes, simply rebooting the system or resetting PRAM can resolve subtle glitches that interfere with smooth captures. These straightforward tweaks keep your screenshot process efficient, minimizing downtime during critical tasks.
Resolving Format and Quality Problems
If your screenshots appear in an unfamiliar format or suffer from poor quality, the macOS default might have shifted unnoticed. You can change the default format using Terminal commands like defaults write com.apple.screencapture type jpg to switch from PNG to JPG, which often reduces file size without a big quality trade-off. When quality drops, checking for display scaling settings or ensuring your screen’s resolution is optimal can prevent blurry captures. These adjustments ensure your screenshots stay crisp and compatible with your needs.
Addressing Common Keyboard Shortcuts Not Working
When screenshot shortcuts fail, they often conflict with other apps or system preferences. Sometimes shortcut keys like Shift + Command + 4 don’t respond if an app intercepts those keystrokes first. I suggest examining the Keyboard Shortcuts panel in System Preferences, confirming none are overridden. Disabling third-party software that customizes keyboard behavior can also fix these issues. Restarting the screenshot utility by quitting and relaunching the Screenshot app sometimes restores normal function as well.
Digging deeper into shortcut conflicts, macOS allows apps to capture particular key sequences, especially utilities like screenshot managers or clipboard enhancers. When these intercept standard Mac shortcuts, the default screenshot commands might cease to work. You can test this by booting into Safe Mode, which disables most third-party extensions and confirms if the problem is system-wide or app-specific. Moreover, creating a new user profile can isolate the issue to your current user settings, helping identify if permissions or preferences are corrupted. These diagnostic steps avoid guesswork and restore your screenshot shortcuts efficiently.
Creative Uses for Screenshots: Beyond Basic Functionality
Screenshots on Mac aren’t just for saving error messages or snippets of text; they can become powerful tools for creativity and productivity. I often use them to capture inspiration for design projects or to preserve fleeting moments from videos. Combining screenshots with markup tools lets you annotate images for presentations or feedback sessions, turning static captures into interactive learning aids. By integrating screenshots into your daily workflow, you unlock potential for more engaging communication and efficient information sharing.
Crafting Visual Guides or Tutorials
I find that creating visual guides with screenshots simplifies complex processes into digestible steps. Capturing each stage of a task and adding clear labels or notes transforms raw images into instructional gold. This approach is especially helpful when explaining software features or troubleshooting procedures, allowing learners to follow along visually. Visual guides not only enhance understanding but also save time compared to lengthy text explanations.
Sharing Information Easily via Screenshots
Screenshots offer a quick and direct method to share detailed information without the need for extensive explanation. I often send screenshots to colleagues when discussing project updates or debugging code, ensuring that everyone sees exactly what I’m referring to. Unlike written descriptions, screenshots provide immediate visual context, reducing misunderstandings and speeding up communication.
By leveraging the instant clarity that screenshots provide, you can streamline discussions in both professional and casual settings. For instance, when collaborating on design feedback, a single annotated screenshot can replace multiple emails describing changes. This visual shorthand eliminates ambiguity, allowing recipients to grasp your intent immediately. Additionally, sharing screenshots through messaging apps or cloud services keeps conversations focused and efficient, contributing to better workflow and faster decision-making.
Summing up
Summing up, I’ve found that taking a screenshot on a Mac is straightforward once you know the key shortcuts like Command-Shift-3 for a full screen capture and Command-Shift-4 to select a specific area. You can also use Command-Shift-5 for more control over your screenshots, including video recording of your screen. Mastering these tools lets you efficiently capture exactly what you need, whether it’s for work, study, or sharing information. By practicing these commands, you’ll gain confidence and speed in documenting your screen on any Mac system.


Leave a comment