

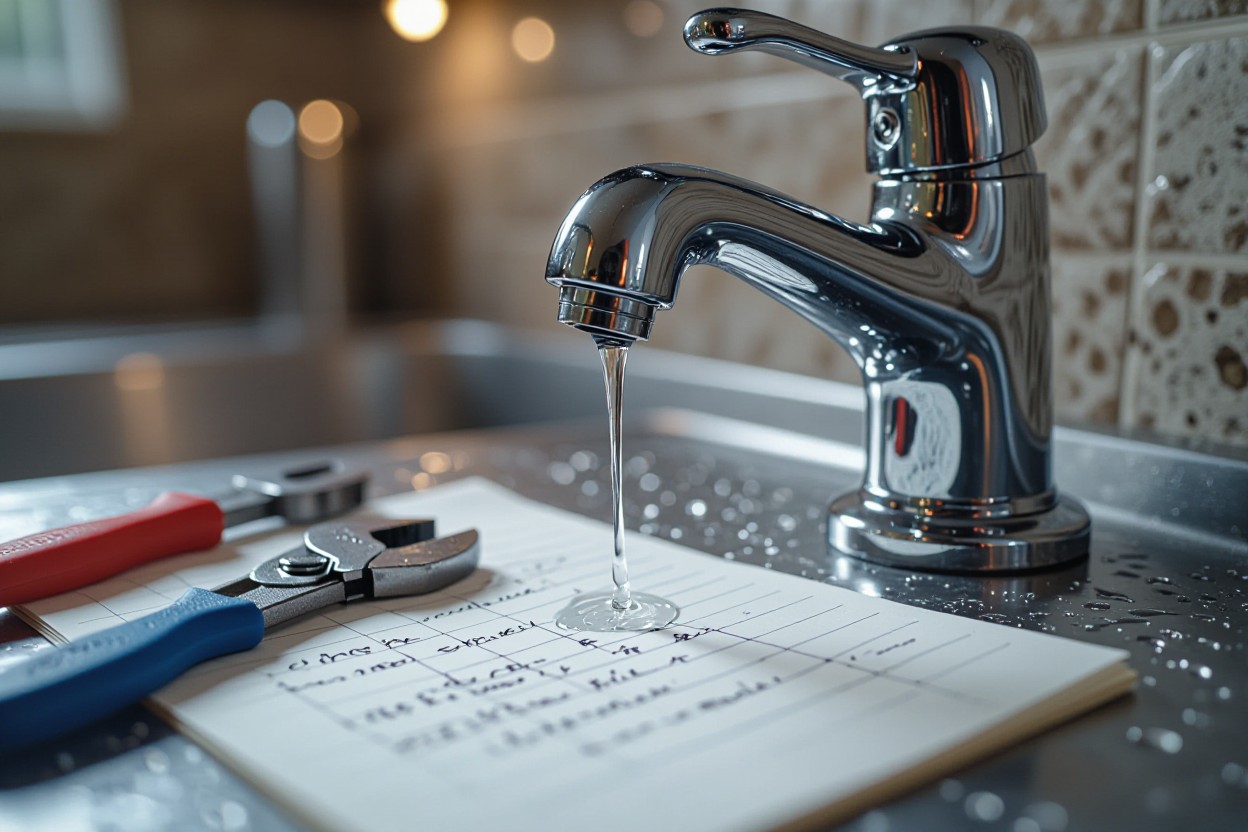
There’s nothing more frustrating than a dripping kitchen faucet wasting water and increasing your bills. In this guide, I’ll walk you through how to fix your leaky kitchen faucet with simple tools you likely already have. By following my clear steps, you’ll save money, reduce water waste, and avoid the hassle of calling a plumber. Fixing leaks early can prevent water damage and mold growth, which can be hazardous to your health. I’ll show you exactly how to diagnose the problem and repair it safely, so you can restore your faucet to perfect working condition.
Diagnosing the Source of the Leak
Locating the exact spot of a leaky kitchen faucet can save you wasted time and money. You’ll want to turn off the water supply first, then closely observe where water drips or pools. Often, leaks develop at common stress points like the spout base, handle, or connections beneath the sink. I recommend using a dry cloth to wipe down suspected areas, then watch for dampness to confirm the source. Perceiving the leak’s precise origin helps target your repair effort effectively, avoiding unnecessary replacements.
Identifying Common Faucet Types
Understanding your faucet style narrows down potential leak causes. I noted these four frequent types:
- Compression faucets with separate hot and cold handles
- Ball faucets characterized by a single handle and rounded spout
- Cartridge faucets featuring a movable cartridge inside the valve
- Disc faucets utilizing ceramic discs for water flow control
| Faucet Type | Leak Tendencies |
|---|---|
| Compression | Worn washers causing dripping near handles |
| Ball | Faulty seals under the ball mechanism |
| Cartridge | Damaged cartridge or O-rings |
| Disc | Cracked ceramic discs triggering leaks |
| Others | Mixed cause, often connection points |
Perceiving your faucet’s style directly influences which parts you’ll need for repair.
Assessing the Leak’s Origin
Pinpointing the exact leak location requires careful inspection of both above and below the sink. Check for water accumulation around the spout or handles, as deterioration of seals or washers there often causes leaks. Look under the sink at the supply lines and valve connections, where loose fittings can dribble water. I’ve found that a flashlight helps detect even minor drips in shadowy spots, preventing bigger damage later.
More in-depth assessment sometimes involves isolating sections of the faucet by turning handles on or off and observing changes in water flow or leak behavior. For example, if stopping water to one supply line halts the leak, your issue is probably in that line or connection. Frequent leaks occur at the faucet’s base due to worn gaskets, so gently pressing and moving the parts will sometimes reveal hidden moisture trails.
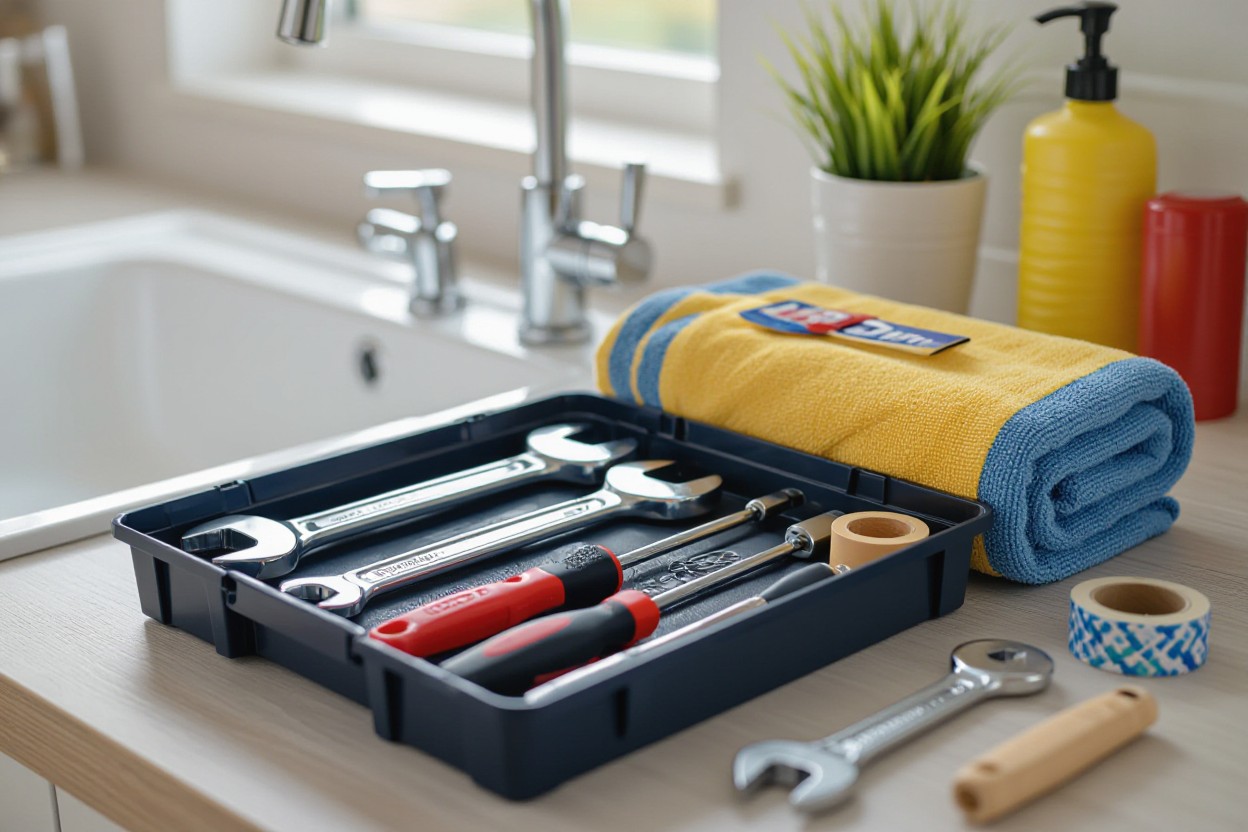
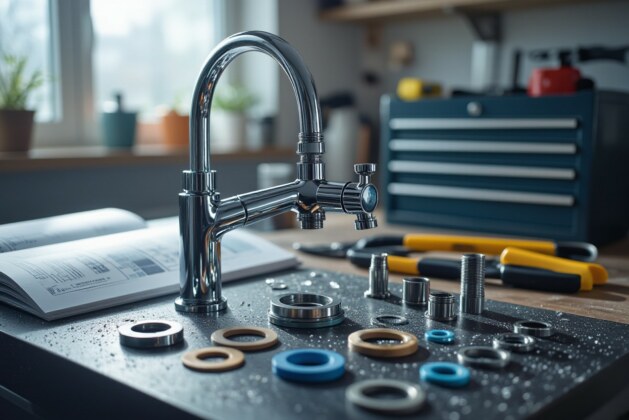
Gathering Essential Tools and Materials
Arming yourself with the right tools and parts saves time and reduces frustration during repairs. A leaky kitchen faucet often requires specific wrenches, replacement washers, or even a cartridge fitting your faucet model. You don’t want to be halfway through dismantling only to realize you’re missing a necessary item. I usually prepare all tools and inspect which seals or cartridges need swapping based on the faucet’s symptoms and age before starting.
Must-Have Tools for the Job
A set of adjustable wrenches, a screwdriver with interchangeable heads, and needle-nose pliers often come in handy. I always include a basin wrench for reaching nuts beneath the sink and a hex key set for faucets with Allen screws. Additionally, having plumber’s grease and a flashlight brightens up tight, dark spaces, making it easier to see what you’re doing. These tools handle most leaks caused by loose fittings or worn-out internal parts.
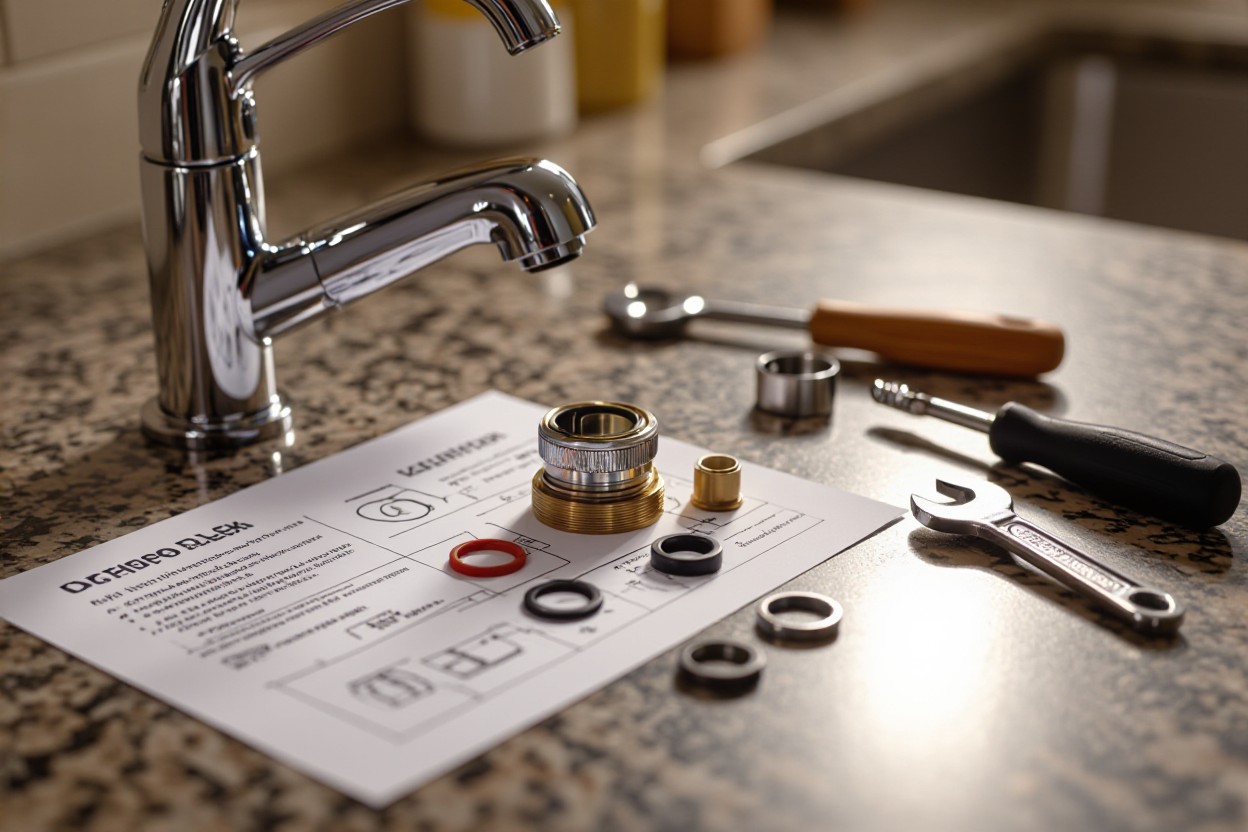
Selecting Replacement Parts for Your Faucet
The right replacement part hinges on your faucet’s brand and model number, which you can usually find stamped under the sink or on the faucet base. Cartridges, O-rings, and washers differ between single-handle and double-handle faucets. I recommend checking manufacturer websites or local hardware stores; some brands offer universal cartridge kits that fit several models, simplifying the selection process.
Beyond just matching part numbers, consider the material quality and longevity. For example, ceramic discs tend to last longer than rubber washers, reducing future leaks. If your faucet shows signs of corrosion or mineral buildup, replacing the entire cartridge instead of just washers can save repeated repairs. When in doubt, bring the old part to the store for an exact match or consult online forums where others have shared successful replacement experiences with similar faucet types.
The Disassembly Process: Step-by-Step
| Turning Off the Water Supply | Removing Faucet Handles and Cartridges |
Turning Off the Water SupplyI always start by locating the shutoff valves beneath the sink to stop water flow. If these valves are stiff or missing, shutting off your home’s main water supply may be necessary. After turning the valves clockwise, I open the faucet to release any trapped water and relieve pressure. This step helps avoid unexpected sprays and possible water damage while you work on the faucet. |
Removing Faucet Handles and CartridgesYour faucet’s handles are usually secured with small screws hidden under decorative caps or near the base. I use a flathead screwdriver to pry off these caps gently and then a Phillips screwdriver or Allen wrench to remove the screws. Once the handles come off, the cartridge is accessible—sometimes held with a retaining clip or nut, which you’ll need to carefully unscrew or unclip before gently pulling the cartridge out. This allows inspection or replacement of worn seals causing leaks. Many faucets have cartridges designed as single units housing several internal parts, including O-rings and seals prone to wear. I find that labeling each removed component during disassembly helps with smooth reassembly. If your faucet model uses a retaining clip, I recommend using needle-nose pliers for secure removal without damage. For stuck cartridges, applying penetrating oil and waiting 10–15 minutes often loosens rust or mineral buildup before extraction. |
Repair Techniques for Various Faucet Styles
Each faucet style demands a tailored approach to repair, often requiring different parts and methods. Compression faucets generally need new washers or O-rings, while cartridge faucets call for cartridge replacements. For ball and ceramic disk faucets, I focus on replacing specific components like the cam or cylinder. Identifying the style and gathering the correct replacement parts beforehand streamlines the process, avoiding wasted trips or delays.
Compression Faucets: O-Ring and Washer Replacements
Compression faucets leak primarily due to worn-out washers or hardened O-rings. To fix this, I disassemble the faucet stem and inspect the rubber washer at the base, which usually wears out first, causing drips. Swapping out the washer is often sufficient, but I also closely examine the O-ring that seals the faucet’s stem. Replacing these inexpensive parts typically restores tight seals and stops leaks effectively, avoiding the need for full faucet replacement.
Cartridge Faucets: How to Replace the Cartridge
Cartridge faucets offer a straightforward fix by swapping the faulty cartridge. I first remove the handle and any retaining nuts to access the cartridge. Carefully pulling it out, I inspect for damage like cracks or mineral buildup, which can cause leaks or irregular water flow. Installing an exact cartridge match is key for reliable performance. After securing it in place and reassembling, I test the faucet to ensure the drip has ceased and that water temperature control is smooth again.
Replacing the cartridge involves a few precise steps: after extracting the damaged cartridge, I clean the housing to remove sediment or corrosion that could affect the new part’s seal. Applying plumber’s grease on the cartridge O-rings helps ease insertion and improves watertight sealing. Since cartridges vary by manufacturer and model, sourcing the exact replacement is vital—I often bring the old cartridge to the store or check online specifications before purchasing. This attention to detail guarantees a long-lasting repair.
Reassembly and Testing: Ensuring a Leak-Free Finish
After inspecting and replacing any faulty parts, the focus shifts to putting your kitchen faucet back together. This phase demands precision to avoid future leaks or malfunctions. Aligning components exactly as they were ensures smooth water flow and longevity. The process involves careful tightening and verification of each piece, followed by a thorough test to catch issues early. Taking the extra time here will save you from repeated leaks and frustrations.
Step-by-Step Reassembly Guide
| Step | Action |
|---|---|
| 1 | Insert new O-rings or washers onto the cartridge shaft carefully to avoid damage. |
| 2 | Replace cartridge into faucet body, ensuring it slots in the original orientation. |
| 3 | Secure cartridge with retaining nut or clip; tighten just enough to hold firmly without stripping threads. |
| 4 | Reattach handle(s) onto cartridge stem and fasten screws snugly, avoiding overtightening. |
| 5 | Replace any decorative caps or trim pieces to restore the faucet’s finish. |
Testing for Leaks and Adjustments
Once reassembled, turn the water supply back on slowly while watching all joints for leaks. Open the faucet fully to allow any trapped air to escape and observe water flow consistency. Minor drips are signs to tighten connections further or inspect seals. If leaks persist, disassemble only the affected parts and verify placement or wear of washers and O-rings. Doing this test in multiple positions helps identify intermittent drips caused by misalignment or damaged components.
Summing up
Taking this into account, I believe fixing a leaky kitchen faucet is a manageable task when approached methodically. By following the step-by-step guide, you can identify the source of the leak, gather the necessary tools, and confidently carry out the repairs yourself. This hands-on approach not only saves you money but also empowers you with valuable maintenance skills. If you stay patient and attentive to detail, your kitchen faucet will be leak-free and fully functional in no time.


Leave a comment