

The Culinary Science of Boiling Eggs
Eggs start transforming chemically at precise temperatures: albumen turns from clear to opaque around 62°C, while the yolk firms up beyond 70°C. Temperature control affects texture—from silken custard-like soft-boiled yolks to crumbly hard-boiled centers. I’ve noticed that boiling for exactly 6 minutes yields a perfectly jammy yolk, whereas pushing beyond 10 minutes results in a chalky consistency and that dreaded green ring caused by iron-sulfur reactions. The exact timing also depends on egg size and freshness, which influence heat penetration. Mastering these details lets you tailor your eggs just the way you prefer every time.
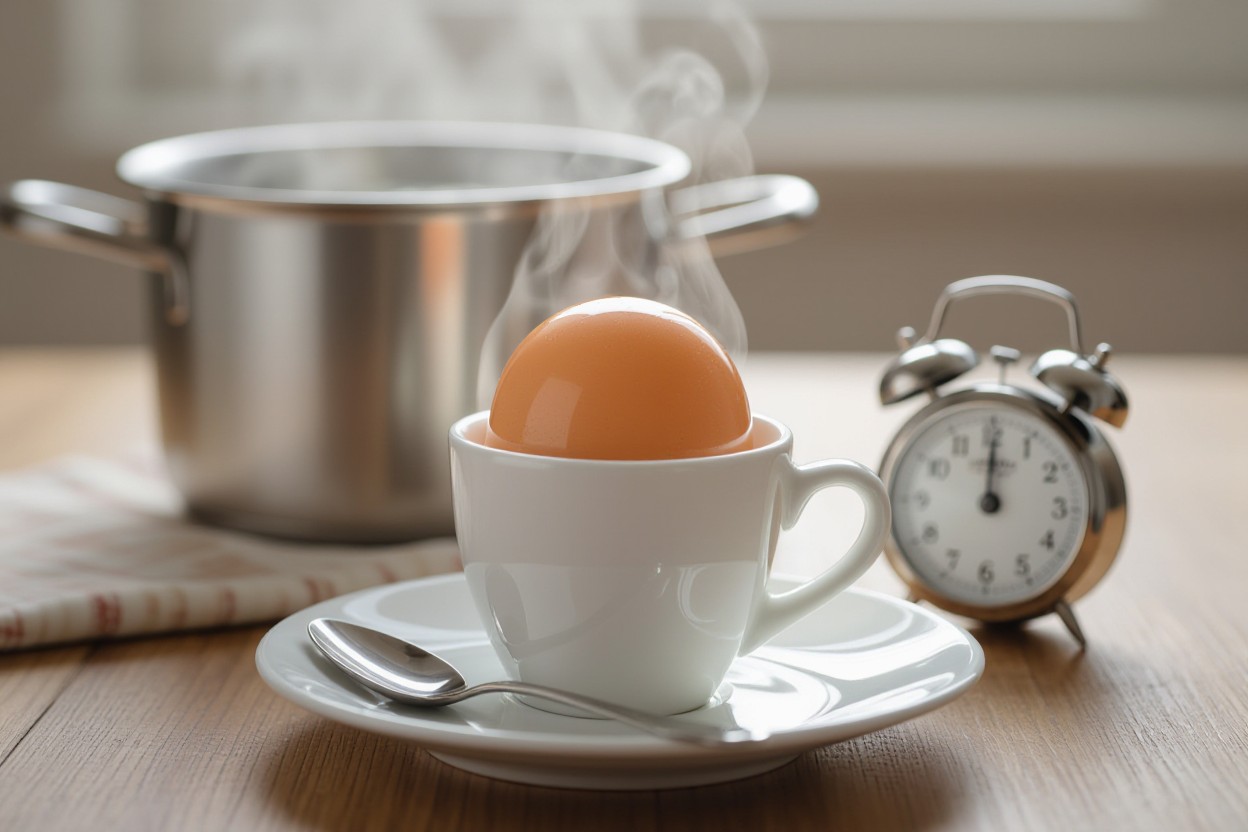
Achieving the Perfect Soft Boil
Soft-boiled eggs strike a delicate balance with tender whites and a velvety yolk that gently pools. Getting that texture requires precision in both the egg selection and the cooking method. With the right eggs and exact timing, your results will consistently have that luscious, runny yolk that elevates dishes from simple snacks to gourmet fare.
Selecting the Right Eggs
Fresher eggs tend to have a firmer white, which holds up better during soft boiling without overcooking, while slightly older eggs peel easier afterward. I favor eggs that are about a week old for soft boiling because they strike the best balance between peeling ease and textural integrity. Using large eggs standardizes cooking time, so adjust for size if your eggs vary.
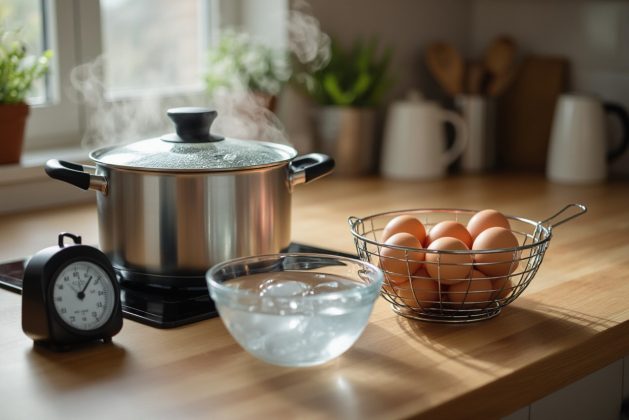
Timing and Temperature Techniques
Exact control of cooking time and water temperature is key to perfecting soft boiled eggs. I bring water to a gentle boil, then reduce the heat to a simmer before lowering the eggs in with a slotted spoon. For large eggs, a 6-minute simmer typically yields a set white and a creamy, runny yolk. Adding ice water for a quick cool-down stops the cooking instantly, preserving the texture.
Timing and Temperature Breakdown
| Cooking Step | Details |
|---|---|
| Water Temperature | Maintain a steady simmer around 185°F (85°C) rather than a rolling boil. |
| Cooking Time | 6 minutes for large eggs; adjust 30 seconds less/more for smaller/larger sizes. |
| Rapid Cooling | Place eggs immediately in an ice bath for 1-2 minutes to halt cooking. |
| Egg Handling | Use a slotted spoon to gently lower and remove eggs to avoid cracking. |
Consistently achieving soft-boiled perfection comes down to trust in timing combined with subtle temperature management. I had the best success once I stopped boiling eggs in rapidly bubbling water, which can jostle and crack them. Lowering the heat to maintain a gentle simmer ensures even cooking without shaking the eggs. A quality instant-read thermometer can help you maintain the right water temperature, ensuring those 6 minutes deliver a soft yet set white and a luscious yolk every time you try.
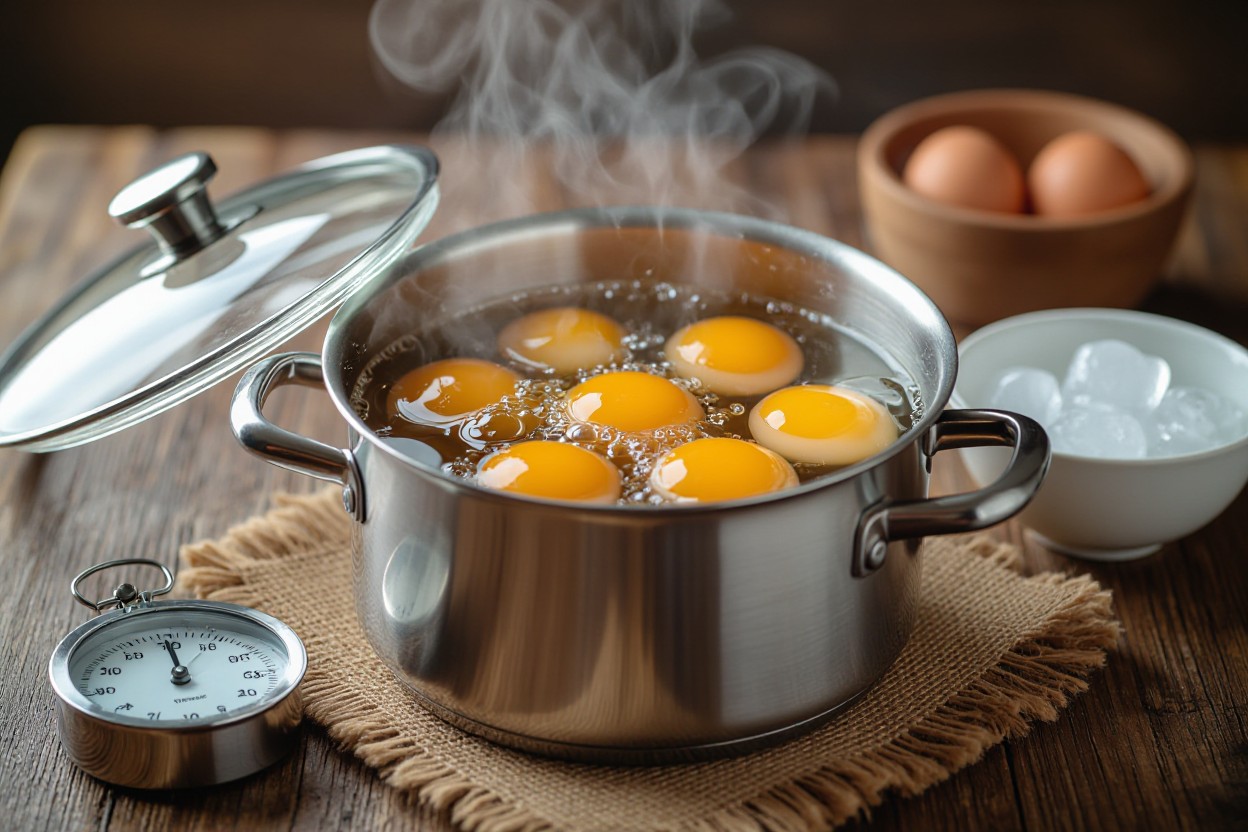
Mastering the Art of Hard Boiling
Achieving the perfect hard-boiled egg hinges on precise timing and temperature control. I recommend starting with eggs at room temperature to prevent cracking. Once the water reaches a full, rolling boil, I reduce the heat to maintain a gentle simmer and set a timer for exactly 9 to 12 minutes, depending on your preferred yolk firmness. This method consistently produces firm whites and creamy yolks without the dreaded green ring. Using a pot with just enough water to cover the eggs by an inch also promotes even cooking while cutting down energy use.
Methodologies for Consistent Results
Certain techniques reliably yield uniform hard-boiled eggs. I find the cold-start method—placing raw eggs in cold water and then bringing it to a boil—creates a slow heat increase that reduces cracking. Alternatively, the steaming method, where eggs sit in a steamer basket over boiling water for 12 minutes, delivers consistent texture with minimal fuss. Both methods help regulate internal temperature changes, preventing rubbery whites and guaranteeing a smooth, creamy yolk center.
Cooling and Peeling Strategies
Rapid cooling in an ice bath for at least 5 minutes immediately stops cooking and contracts the egg inside the shell, making peeling easier. You can gently tap and roll the egg on a hard surface to crack the shell all over without damaging the membrane underneath. For fresher eggs, I recommend peeling under running water or submerging them briefly to loosen stubborn shell fragments, which makes the process faster and cleaner.
Expanding on cooling and peeling, the ice bath not only halts cooking to prevent overdone yolks but also encourages the egg to shrink away slightly from the membrane, greatly simplifying shell removal. I often soak the eggs in ice water for up to 10 minutes to maximize this effect. Additionally, peeling eggs under cool running water helps wash away tiny shell pieces clinging to the membrane, which is especially helpful for very fresh eggs that tend to resist peeling. This two-step approach usually ensures smooth, presentable eggs without frustration or waste.

Troubleshooting Common Egg Boiling Issues
Even with careful timing and technique, issues like cracked shells or off-putting yolk colors can pop up. Each problem usually has a straightforward fix. For instance, rapid temperature changes often cause cracks, while overcooking leads to that greenish yolk hue. Understanding these can help you refine your method and consistently get that perfect egg texture and appearance.
Addressing Cracked Shells
Cracked shells usually result from placing cold eggs directly into boiling water or from rough handling. To avoid this, I recommend warming eggs gradually in hot tap water for a few minutes before boiling. Adding a teaspoon of vinegar or salt to the water also helps coagulate any escaping egg white quickly, minimizing mess. If cracks do appear mid-boil, transferring the eggs to a gentler simmer can reduce further shell damage or leakage.
Preventing Green Yolk Discoloration
The greenish-grey yolk turns up when eggs are overcooked or boiled at too high a temperature. I find that boiling eggs at a gentle simmer for the recommended time, followed by immediate ice water immersion, effectively stops the chemical reaction causing discoloration. This method not only keeps yolks visually appealing but also maintains that creamy texture everyone loves.
Digging a bit deeper, the green color comes from a reaction between iron in the yolk and sulfur in the white, producing iron sulfide on the surface. Rapid cooling after boiling halts this interaction. Leaving eggs to sit in hot water for more than 10 minutes significantly increases the chance of green yolks. So, timing your boil and chilling right away in ice water is a straightforward fix to maintain that perfect yellow shade and tasty yolk profile.
Creative Uses for Your Perfectly Boiled Eggs
Once you’ve mastered boiling eggs to your liking, the possibilities extend far beyond breakfast. I use them to add protein and texture to a variety of dishes, transforming simple meals into something more satisfying. Incorporating eggs into recipes like deviled eggs, Scotch eggs, or even egg curry elevates flavors and offers nutritional boosts. Their versatility invites experimentation with spices, dressings, and plating, turning an everyday ingredient into a culinary star.
From Salads to Toppings: Elevating Your Dishes
Chopping or slicing boiled eggs adds a rich, creamy element perfect for salads, sandwiches, and grain bowls. For instance, a Cobb salad benefits from the contrast between crisp greens and soft yolks. Crumbled eggs also make an excellent garnish for avocado toast or ramen, imparting complex flavors. By integrating boiled eggs, you turn ordinary dishes into layered experiences with added protein and visual appeal.
Egg Storage and Meal Prep Ideas
Hard-boiled eggs can last up to one week refrigerated, making them ideal for prep-ahead meals. I often peel and store them in an airtight container with a damp paper towel to retain moisture and prevent dryness. This practice saves time while ensuring your eggs remain fresh for quick snacks, breakfasts, or recipe additions throughout the week. Proper storage keeps yolks tender and whites firm without developing off-odors.
For enhanced convenience, consider portioning boiled eggs with complementary ingredients like cheese, nuts, or veggies in meal prep containers. This approach boosts nutrient balance and minimizes last-minute cooking. Additionally, whole peeled eggs stored in water within sealed containers remain fresher up to 7 days—just replace the water daily to keep them crisp. Using these techniques lets you maximize the benefits of your perfect boil in everyday eating habits.


Leave a comment